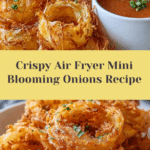
Air Fryer Crispy Mini Blooming Onions for Guilt-Free Snacking Recipe
Introduction
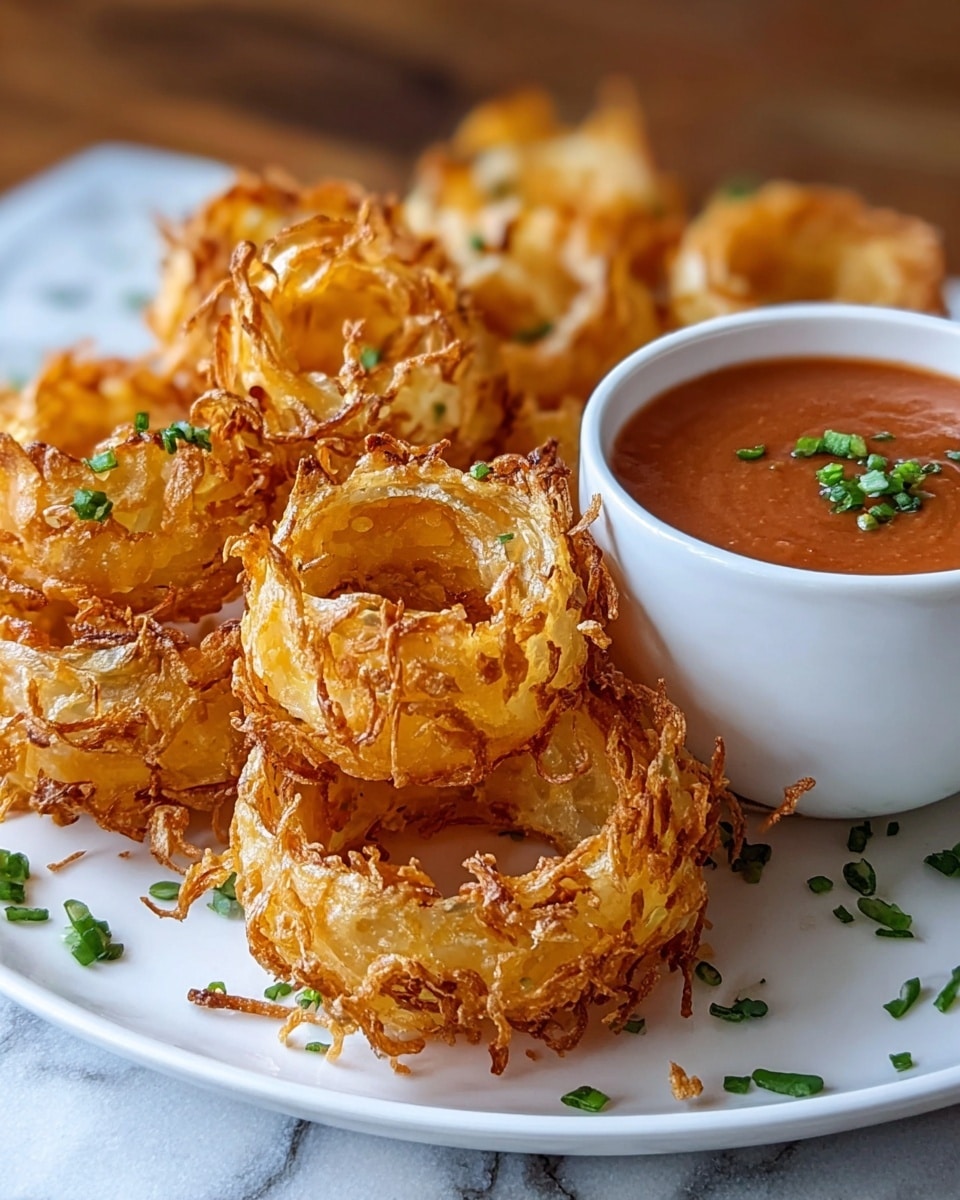
These Air Fryer Crispy Mini Blooming Onions offer a deliciously crunchy snack without the guilt of deep frying. Perfectly seasoned and cooked to golden perfection in the air fryer, they make a great appetizer or party treat.
Ingredients
- 1 cup Buttermilk (or milk with lemon juice)
- 1 cup Flour (substitute with gluten-free flour for a gluten-free option)
- 1 tbsp Paprika (consider using smoked paprika for extra flavor)
- 1 tsp Garlic Powder
- 1 tsp Onion Powder
- 0.5 tsp Cayenne Pepper (adjust according to taste)
- 1 tsp Salt
- 1 tsp Pepper
- 2 medium Sweet Onions (like Vidalia)
- Cooking Spray or Oil (as needed for crispy exterior)
Instructions
- Step 1: In a small bowl, combine buttermilk or milk with lemon juice and let it sit for 5 minutes to slightly thicken.
- Step 2: Peel the onions and slice off the tops and bottoms carefully to create a flat, stable base. Make vertical cuts from top to bottom to form petal-like sections, being careful not to cut all the way through.
- Step 3: In a separate bowl, mix together the flour, paprika, garlic powder, onion powder, cayenne pepper, salt, and pepper.
- Step 4: Dip each onion into the buttermilk mixture, allowing excess to drip off, then coat thoroughly in the seasoned flour blend.
- Step 5: Preheat your air fryer to 380°F (190°C) for 5 minutes.
- Step 6: Place the coated onions in the air fryer basket, ensuring they have enough space for air circulation.
- Step 7: Lightly spray the tops of the onions with cooking spray or brush with a little oil to encourage crispiness.
- Step 8: Cook the onions for 10-12 minutes, shaking the basket halfway through to promote even cooking.
- Step 9: Meanwhile, prepare a dipping sauce by mixing mayonnaise, ketchup, horseradish sauce, lemon juice, and seasonings to taste.
- Step 10: Serve the warm, crispy blooming onions immediately with the prepared dipping sauce for a delightful snack.
Tips & Variations
- Use smoked paprika instead of regular for a deeper smoky flavor.
- For a spicier kick, increase the cayenne pepper to 1 teaspoon or add a dash of hot sauce to the dipping sauce.
- Gluten-free flour works well if you need to avoid gluten.
- Make sure the onions are dry before dipping to get a crispier coating.
- If you don’t have an air fryer, baking in a convection oven at 400°F (200°C) on a wire rack can be a good alternative.
Storage
Store leftover crispy blooming onions in an airtight container in the refrigerator for up to 2 days. Reheat them in the air fryer at 350°F (175°C) for 3-5 minutes to restore crispiness. Avoid microwaving as it can make them soggy.
How to Serve

Serve this delicious recipe with your favorite sides.
FAQs
Can I use regular milk instead of buttermilk?
Yes, you can make a buttermilk substitute by adding 1 tablespoon of lemon juice or vinegar to 1 cup of milk and letting it sit for 5 minutes before using.
Will these onions be as crispy as deep-fried?
While air-fried onions won’t be exactly the same as deep-fried, they still achieve a wonderfully crispy texture with a fraction of the oil, making them a healthier yet tasty alternative.
PrintAir Fryer Crispy Mini Blooming Onions for Guilt-Free Snacking Recipe

Enjoy guilt-free snacking with these Air Fryer Crispy Mini Blooming Onions, featuring perfectly seasoned, crunchy petals made from sweet onions and a flavorful breading. Crafted to be lighter and healthier than traditional deep-fried versions, this recipe offers a deliciously crispy texture using an air fryer, paired with a tangy homemade dipping sauce.
- Prep Time: 15 minutes
- Cook Time: 12 minutes
- Total Time: 27 minutes
- Yield: 4 servings 1x
- Category: Appetizer
- Method: Air Frying
- Cuisine: American
- Diet: Gluten Free
Ingredients
For the Blooming Onions
- 1 cup Buttermilk (or milk with lemon juice)
- 1 cup Flour (substitute with gluten-free flour for a gluten-free option)
- 1 tbsp Paprika (smoked paprika recommended for extra flavor)
- 1 tsp Garlic Powder
- 1 tsp Onion Powder
- 0.5 tsp Cayenne Pepper (adjust according to taste)
- 1 tsp Salt
- 1 tsp Pepper
- 2 medium Sweet Onions (like Vidalia)
- Cooking Spray or Oil as needed (for crispy exterior)
For the Dipping Sauce
- Mayonnaise (quantity to preference, approximately 0.25 cup)
- Ketchup (approximately 2 tbsp)
- Horseradish Sauce (approximately 1 tsp)
- Lemon Juice (a squeeze, about 1 tsp)
- Seasonings to taste (salt, pepper, optional garlic powder)
Instructions
- Prepare the Buttermilk Mixture: In a small bowl, combine the buttermilk or milk with lemon juice and let it sit for 5 minutes to slightly thicken and develop acidity, enhancing the coating adherence.
- Slice the Onions: Peel the sweet onions carefully, then slice off the top and bottoms to create a flat, stable base. Make several vertical cuts from top toward bottom, creating petal shapes that open like a bloom when cooked.
- Mix the Seasoned Flour: In a separate bowl, combine the flour, paprika, garlic powder, onion powder, cayenne pepper, salt, and pepper to make the flavorful breading.
- Coat the Onions: Dip each onion into the buttermilk mixture, allowing excess liquid to drip off, then thoroughly coat the petals in the seasoned flour mixture for maximum crispiness.
- Preheat the Air Fryer: Set the air fryer to 380°F (190°C) and allow it to preheat for 5 minutes to ensure even cooking and a crispy finish.
- Place Onions in Air Fryer: Arrange the coated onions in the basket with space between them, allowing hot air to circulate for an even crisp.
- Apply Oil Spray: Lightly spray the tops and petals of the onions with cooking spray or brush with oil to promote a golden, crispy crust during air frying.
- Cook the Onions: Air fry the onions for 10-12 minutes, shaking or gently turning the basket halfway through to ensure they cook evenly and become crisp on all sides.
- Prepare the Dipping Sauce: While the onions cook, mix mayonnaise, ketchup, horseradish sauce, lemon juice, and season with salt and pepper to taste in a small bowl until smooth and flavorful.
- Serve: Remove the golden, crispy mini blooming onions from the air fryer and serve immediately alongside the prepared dipping sauce for a delectable guilt-free appetizer or snack.
Notes
- For a gluten-free option, substitute regular flour with gluten-free flour.
- Adjust cayenne pepper to spice preference; omit if sensitive to heat.
- Using smoked paprika adds a deeper flavor dimension to the coating.
- The cooking time may vary slightly depending on the size of onions and air fryer model.
- Allow onions to cool briefly before serving to avoid burning your mouth with hot oil.
- Leftover dipping sauce can be refrigerated for up to 3 days.
- Ensure onions are sliced with a sharp knife for clean cuts and easy blooming.
Keywords: Air fryer blooming onion, crispy onion appetizer, guilt-free snack, mini blooming onion recipe, healthy blooming onion, air fryer snacks