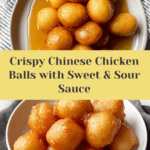
Crispy Chinese Chicken Balls with Sweet and Sour Sauce Recipe
Introduction
Crispy Chinese Chicken Balls with Sweet and Sour Sauce are a popular treat that combines crunchy, golden chicken with a tangy, flavorful dipping sauce. This recipe delivers that perfect balance of sweet and tangy in a simple homemade version you can enjoy any night of the week.
Ingredients
- 1 cup Ketchup (Consider a no-sugar-added variant for a healthier option.)
- 1/2 cup Brown Sugar (White sugar can be used as a substitute.)
- 1/2 cup Vinegar (Rice vinegar can be substituted for a milder flavor.)
- 2 tablespoons Lemon Juice (Fresh juice is preferred, bottled can work in a pinch.)
- 1/2 cup Water (Using cold water can improve texture.)
- 2 tablespoons Cornstarch (Additional flour can substitute if needed.)
- 2 cups Chicken Breasts (Cut into chunks; chicken thighs can offer more flavor.)
- 1 cup All-Purpose Flour (Self-rising flour can also be used with adjusted baking powder.)
- 1/2 cup Cornstarch (Aim for equal parts with flour for best results.)
- 1 tablespoon Baking Powder (Do not skip as it’s crucial for achieving a light texture.)
- 1 teaspoon Coarse Kosher Salt (Table salt can substitute, but use less.)
- 1 teaspoon Sugar (for batter) (Honey can also be an alternative.)
- 1 cup Cold Water (for batter) (Always start with cold water for optimal results.)
- 2 cups Neutral Oil (Vegetable or canola oil works best.)
Instructions
- Step 1: Prepare the sweet and sour sauce by combining brown sugar, ketchup, lemon juice, vinegar, water, and cornstarch in a small saucepan. Bring to a boil over medium heat while stirring, then reduce heat and let it thicken for about 5 minutes. Set aside.
- Step 2: In a large bowl, whisk together cornstarch, flour, sugar, baking powder, and salt. Gradually add the cold water, stirring until the batter is thick enough to coat the chicken pieces thoroughly.
- Step 3: Dip each chicken chunk into the batter, allowing excess to drip off. Carefully lower the pieces into preheated oil heated to 375°F (190°C).
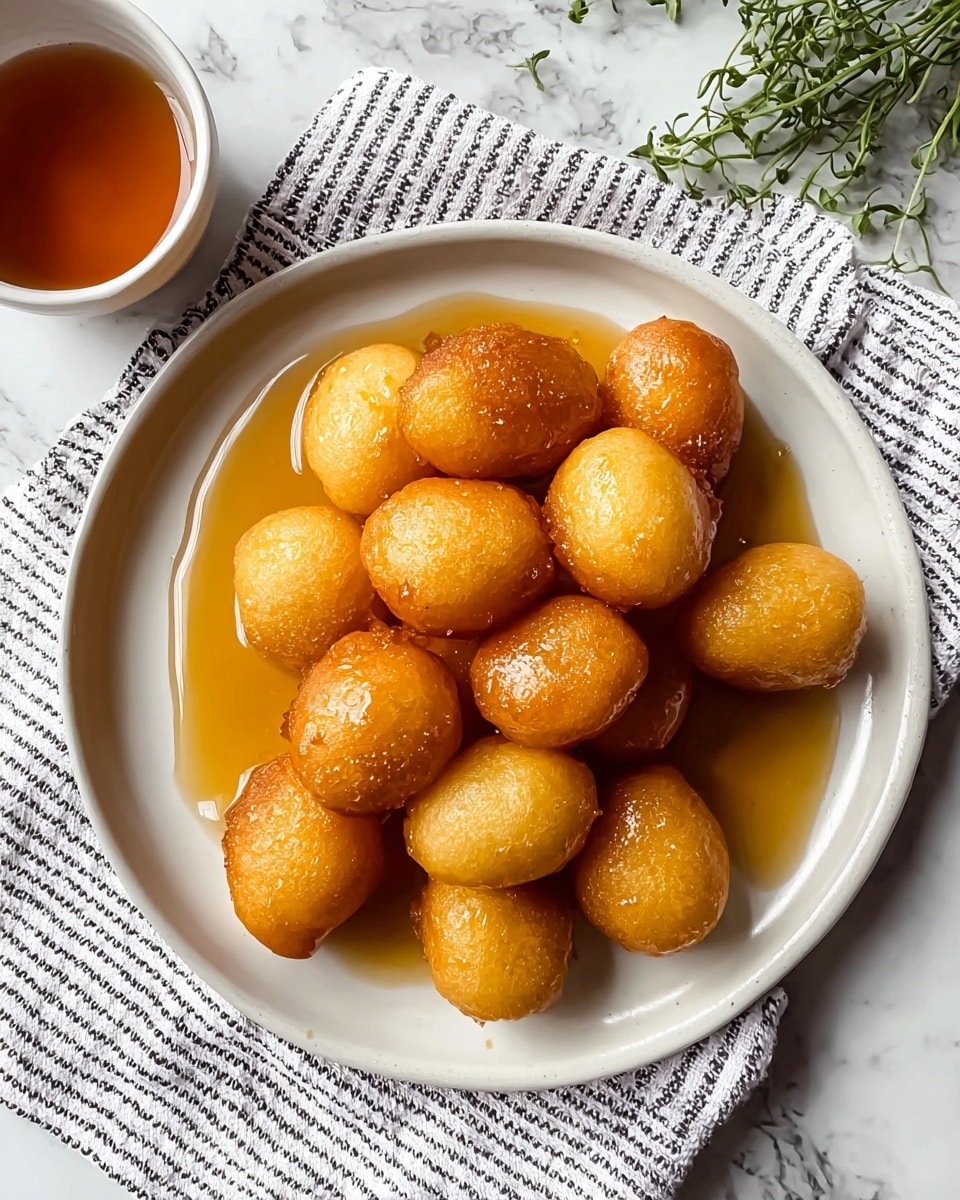
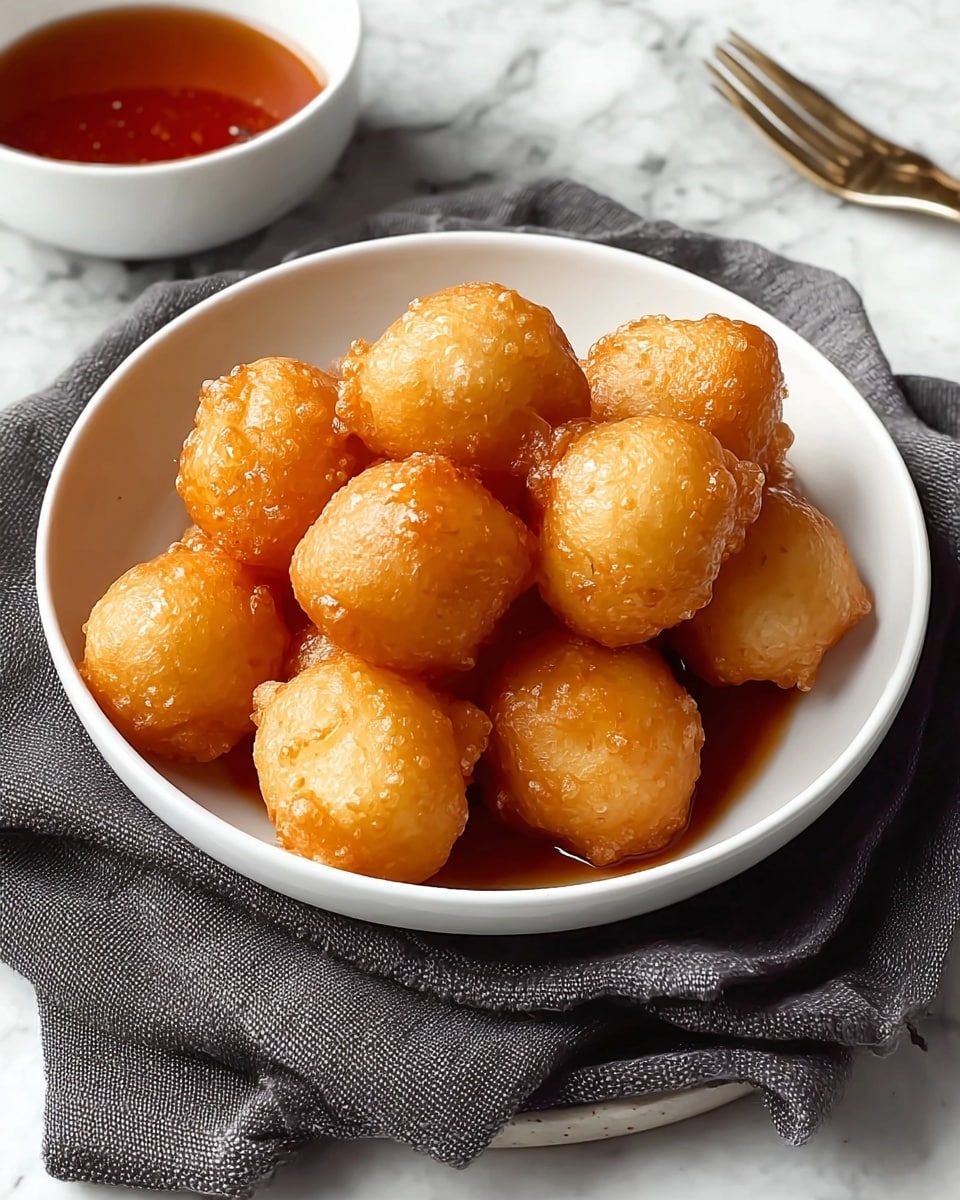
- Step 4: Fry the chicken balls for 3-4 minutes on each side, until they turn golden brown and crispy. Remove and drain on a wire rack to keep them crunchy.
- Step 5: Serve the hot, crispy chicken balls with the sweet and sour sauce on the side for dipping. Enjoy!
Tips & Variations
- Use chicken thighs instead of breasts for a juicier, more flavorful result.
- Rice vinegar in the sauce provides a gentler acidity if you prefer a milder taste.
- Adjust sugar levels in the sauce to balance sweetness to your preference.
- Keeping the batter cold improves the texture and crispiness of the coating.
- Drain fried chicken balls on a wire rack instead of paper towels to maintain their crunch.
Storage
Store any leftover chicken balls in an airtight container in the refrigerator for up to 2 days. Reheat in a preheated oven at 350°F (175°C) for about 10 minutes to regain crispness. Store the sauce separately in the fridge and warm gently before serving.
How to Serve
Serve this delicious recipe with your favorite sides.
FAQs
Can I use chicken thighs instead of breasts?
Yes, chicken thighs can be used and often yield a more flavorful and juicy result. Just cut them into similar sized chunks for even cooking.
How do I keep the chicken balls crispy after frying?
Drain the chicken balls on a wire rack instead of paper towels to avoid sogginess. Also, serve them immediately or reheat in the oven for best texture.
PrintCrispy Chinese Chicken Balls with Sweet and Sour Sauce Recipe
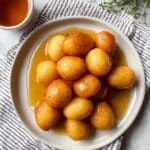
Crispy Chinese Chicken Balls served with a tangy and flavorful homemade sweet and sour sauce. This classic Asian-inspired appetizer features tender chicken pieces coated in a light, crispy batter and fried to golden perfection. Perfect for sharing or as a delicious snack.
- Prep Time: 15 minutes
- Cook Time: 15 minutes
- Total Time: 30 minutes
- Yield: Serves 4
- Category: Appetizer
- Method: Frying
- Cuisine: Chinese
Ingredients
Sweet and Sour Sauce
- 1 cup Ketchup (consider a no-sugar-added variant for a healthier option)
- 1/2 cup Brown Sugar (white sugar can be used as a substitute)
- 1/2 cup Vinegar (rice vinegar can be substituted for a milder flavor)
- 2 tablespoons Lemon Juice (fresh juice preferred)
- 1/2 cup Water (cold water improves texture)
- 2 tablespoons Cornstarch
Chicken Balls
- 2 cups Chicken Breasts, cut into chunks (chicken thighs can be used for more flavor)
- 1 cup All-Purpose Flour (self-rising flour can be used with adjusted baking powder)
- 1/2 cup Cornstarch (equal parts with flour for best results)
- 1 tablespoon Baking Powder (crucial for light texture)
- 1 teaspoon Coarse Kosher Salt (table salt can substitute, use less)
- 1 teaspoon Sugar (for batter, honey can be an alternative)
- 1 cup Cold Water (always start cold for batter)
- 2 cups Neutral Oil (vegetable or canola oil works best for frying)
Instructions
- Prepare Sweet and Sour Sauce: In a small saucepan, combine brown sugar, ketchup, lemon juice, vinegar, water, and cornstarch. Bring the mixture to a boil while stirring continuously to ensure it mixes evenly and thickens. Once thickened, set aside to cool and keep warm.
- Make Chicken Ball Batter: In a large bowl, whisk together cornstarch, all-purpose flour, sugar, baking powder, and coarse kosher salt. Gradually add cold water while mixing until a thick batter forms that will fully coat the chicken pieces.
- Coat Chicken Pieces: Dip each chicken chunk into the batter, letting excess batter drip back into the bowl to avoid clumping. Ensure each piece is evenly coated.
- Fry Chicken Balls: Heat neutral oil in a deep pan or fryer to 375°F (190°C). Carefully lower the battered chicken pieces into the hot oil and fry for 3-4 minutes per side until golden brown and crispy. Avoid overcrowding the pan to maintain oil temperature. Once cooked, transfer the chicken balls to a wire rack to drain excess oil and keep them crispy.
- Serve: Arrange the crispy chicken balls on a serving plate and serve hot with the prepared sweet and sour sauce on the side for dipping. Enjoy immediately for the best texture and flavor.
Notes
- For a healthier twist, use no-sugar-added ketchup and reduce the amount of brown sugar.
- Chicken thighs can be used instead of breasts for more juicy and flavorful chicken balls.
- Maintain the oil temperature at 375°F (190°C) to achieve crispy texture without excess oil absorption.
- The baking powder in the batter is essential to get a light, airy coating.
- Use a wire rack instead of paper towels to drain fried chicken balls to keep them crispier.
- Make the sweet and sour sauce ahead and keep warm for convenience when serving.
Keywords: Chinese chicken balls, sweet and sour sauce, crispy chicken, fried chicken appetizer, Asian appetizer, homemade sweet and sour sauce