Dutch Oven No Knead Crusty Bread Recipe
Introduction
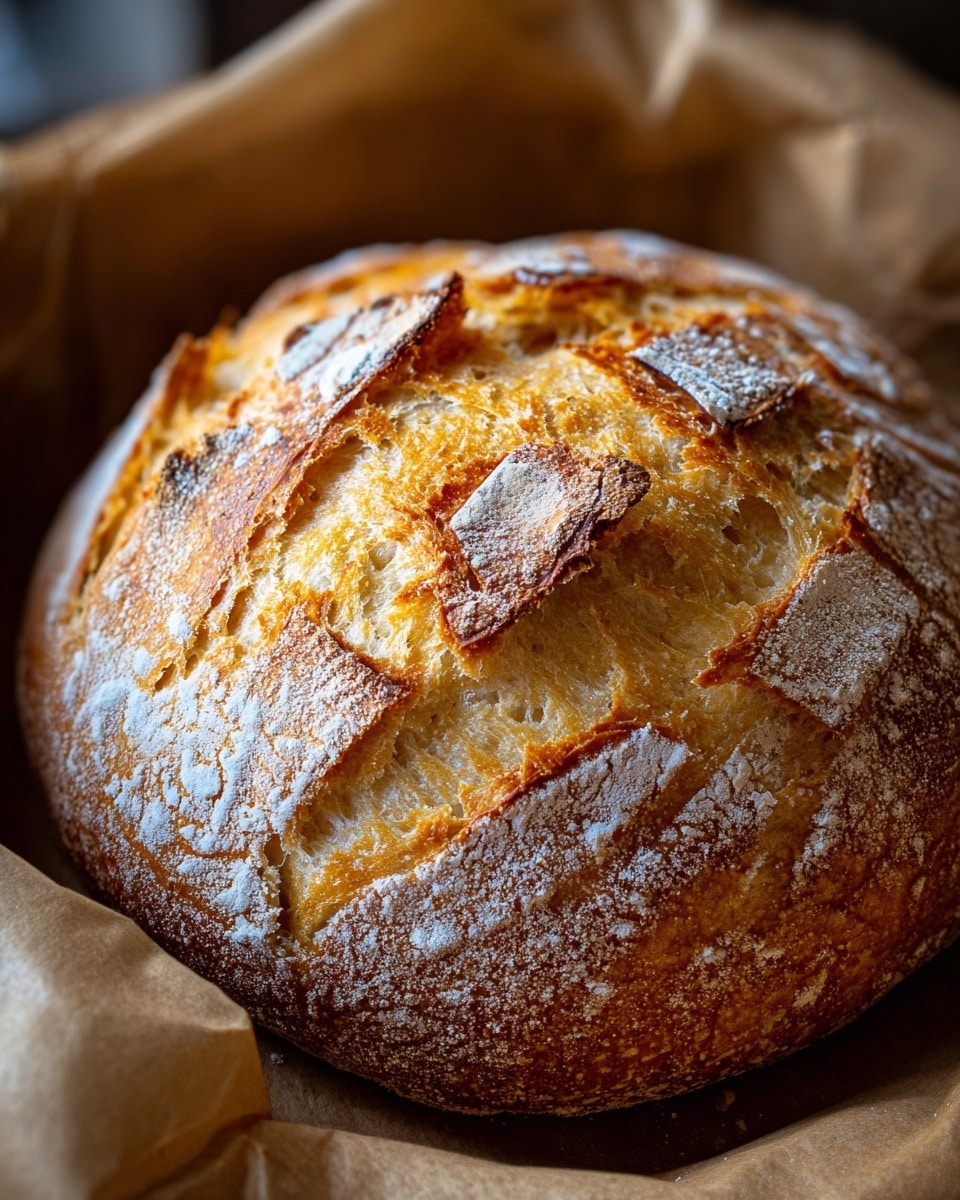
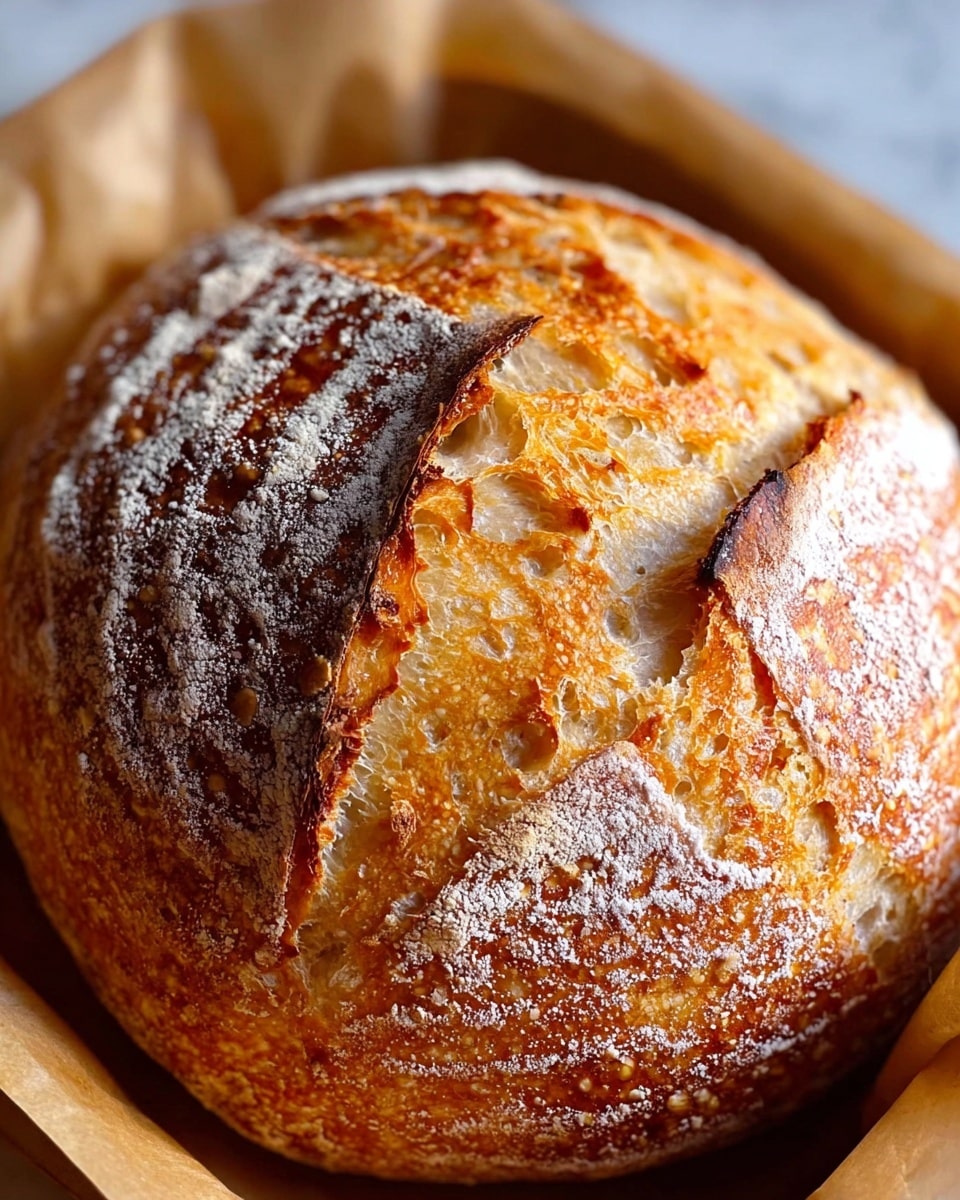
Making crusty homemade bread is easier than you think with this no-knead Dutch oven method. This recipe yields a golden, chewy loaf with minimal effort, perfect for beginners and seasoned bakers alike.
Ingredients
- 1 1/2 cups warm water (about 100°F)
- 1 packet active dry yeast (2.25 teaspoons)
- 1 ½ teaspoons fine grain salt
- 3 1/4 cups all-purpose flour
Instructions
- Step 1: In a large bowl, combine warm water, yeast, and salt. Stir until dissolved.
- Step 2: Gradually add all the flour at once and mix until a sticky dough forms.
- Step 3: Cover the bowl with a kitchen towel and let it rise in a warm place for 2 to 3 hours, or until the dough has doubled in size.
- Step 4: Preheat your oven to 450°F (230°C) with the Dutch oven inside for at least 30 minutes to heat thoroughly.
- Step 5: On floured parchment paper, shape the dough into a round loaf and carefully transfer it into the hot Dutch oven.
- Step 6: Cover and bake for 35 to 40 minutes. Then remove the lid and bake uncovered for an additional 5 to 10 minutes until the crust is golden brown.
- Step 7: Remove the bread and cool on a wire rack for at least 10 minutes before slicing to let it set.
Tips & Variations
- For extra flavor, add a tablespoon of herbs like rosemary or thyme to the dough before rising.
- Use bread flour instead of all-purpose for a chewier texture.
- Be sure your water is warm, not hot, to activate the yeast without killing it.
- Letting the dough rise longer (up to 12 hours in the fridge) can improve flavor.
Storage
Store leftover bread in a paper bag at room temperature for up to 2 days to preserve crustiness. For longer storage, slice and freeze the bread wrapped tightly, then toast slices as needed. Reheat wrapped in foil in the oven at 350°F (175°C) for 10-15 minutes to refresh the crust.
How to Serve
Serve this delicious recipe with your favorite sides.
FAQs
Can I use instant yeast instead of active dry yeast?
Yes, you can use instant yeast. Reduce the amount slightly (about 2 teaspoons) and mix it directly with the flour, then add the warm water.
Do I need to knead the dough at all?
No kneading is required. The long rise time allows the gluten to develop naturally, creating the desired texture.
PrintDutch Oven No Knead Crusty Bread Recipe
This Dutch Oven No Knead Crusty Bread recipe delivers a rustic, artisan-style loaf with minimal effort. The bread develops a wonderfully crispy crust and a tender, airy crumb by slow fermentation and baking in a hot Dutch oven. Perfect for beginners and seasoned bakers looking for a simple, hands-off bread recipe that results in bakery-quality bread at home.
- Prep Time: 10 minutes
- Cook Time: 45-50 minutes
- Total Time: 2 hours 55 minutes to 3 hours
- Yield: 1 loaf (about 1.5 pounds) 1x
- Category: Bread
- Method: Baking
- Cuisine: American
Ingredients
Ingredients
- 1 1/2 cups warm water (about 100°F)
- 1 packet active dry yeast (2.25 teaspoons)
- 1 ½ teaspoons fine grain salt
- 3 1/4 cups all-purpose flour
Instructions
- Activate Yeast: In a large bowl, combine warm water, yeast, and salt until the yeast and salt are fully dissolved, ensuring proper activation and even seasoning.
- Form Dough: Gradually add all the flour at once and mix together until a sticky, shaggy dough forms, indicating proper hydration.
- First Rise: Cover the bowl with a kitchen towel and let the dough rise in a warm spot for about 2 to 3 hours, or until it has doubled in size, allowing for natural fermentation and flavor development.
- Preheat Dutch Oven: Place your Dutch oven with its lid in your oven and preheat to 450°F (232°C) for at least 30 minutes to ensure it is thoroughly heated for optimal crust formation.
- Shape Dough: Lightly flour a sheet of parchment paper, then shape the dough into a round on the parchment. Using parchment makes transferring the dough easier and keeps the dough from sticking.
- Bake Covered: Carefully remove the hot Dutch oven from the oven and transfer the dough on the parchment into it. Cover with the lid and bake for 35 to 40 minutes. This traps steam, helping to develop a crispy crust and tender crumb.
- Bake Uncovered: Remove the lid and continue baking for an additional 5 to 10 minutes until the crust turns a deep golden brown.
- Cool: Transfer the bread to a wire rack and let it cool for at least 10 minutes before slicing. This allows the crumb to set and improves the texture.
Notes
- For best results, use a kitchen thermometer to ensure the water is about 100°F to activate yeast properly without killing it.
- You can store leftover bread in an airtight container at room temperature for up to 3 days or freeze slices for longer storage.
- Using parchment paper helps with easy transfer but can be replaced with a well-floured surface if necessary.
- Allow the bread to cool completely before slicing to prevent it from becoming gummy.
Keywords: no knead bread, Dutch oven bread, crusty bread, easy homemade bread, artisan bread, simple bread recipe